Introduction
Transforming your living space with hardwood floor covering can be one of the most satisfying home renovation jobs. Not only does it enhance the visual allure of your home, but it additionally includes value. Nevertheless, attaining a specialist look in your DIY hardwood floor installment calls for mindful preparation, focus to information, and the right devices. In this comprehensive overview, we'll walk you via every step of the procedure while providing insights on just how to accomplish a remarkable coating that matches that of expert installations.
Understanding Hardwood Flooring Installation
What is Hardwood Flooring Installation?
Hardwood flooring setup refers to the procedure of putting down wooden slabs in an assigned area to develop a durable and visually enticing surface. This can entail different techniques, including nail-down, glue-down, and drifting techniques, depending upon the kind of wood flooring chosen.
Types of Hardwood Flooring
Solid Hardwood
Solid hardwood floors are made from a solitary piece of timber and generally can be found in thicknesses varying from 3/4 inch to 5/16 inch.
Engineered Hardwood
Engineered wood contains several layers, making it extra versatile and stable than strong timber. It's much less prone to contorting due to modifications in humidity.
Benefits of Putting up Hardwood Floors
- Aesthetic Charm: Includes heat and elegance. Durability: With correct treatment, hardwood can last for decades. Increased Home Worth: Residences with hardwood floors tend to market faster and at greater prices. Easy Upkeep: Basic cleansing approaches maintain them looking fresh.
Preparing for Your do it yourself Project
Assessing Your Space
Before diving into your job, evaluate the area where you'll be mounting the floor covering. Take into consideration elements like space dimension, illumination conditions, existing flooring types, and furnishings placement.
Choosing the Right Tools
To attain a sleek appearance throughout your wood flooring installation, collect these vital tools:

- Tape Measure Chalk Line Mallet Flooring Nailer or Stapler Saw (Table or Circular) Moisture Meter
Selecting Your Hardwood Flooring
When picking your wood flooring:
Consider the timber varieties (oak, maple, cherry). Decide on color and surface-- darker shades might reveal scratches less than lighter shades. Ensure you select high-quality boards with very little defects.
Achieving a Professional Search in Your DIY Hardwood Floor Installation
Think concerning what makes expert setups stand apart: accuracy cuts and seamless changes between planks. To reproduce this top quality:
Take exact measurements before cutting. Use a straight side for marking cuts. Allow for correct adjustment time before setup-- this suggests allowing your wood being in the area for a number of days.
Preparing Your Subfloor for Installation
Importance of Subfloor Preparation
A well-prepared subfloor is vital for accomplishing an expert search in your DIY hardwood flooring setup. An uneven or improperly installed subfloor can bring about squeaks and other problems down the line.
Steps for Preparing Your Subfloor
Clean Thoroughly: Get rid of all debris and dust. Check Levelness: Utilize a progressing device; fill up low areas with leveling substance if necessary. Repair Any kind of Damage: Fix cracks or holes in concrete subfloors or change harmed plywood panels.Installing Underlayment
What is Underlayment?
Underlayment is an added layer put beneath hardwood floor covering that assists with sound absorption and moisture protection.
Selecting Underlayment Material
Choose an underlayment compatible with your chosen flooring type-- alternatives consist of foam sheets or really felt paper made particularly for wood installations.
Laying Down Your Hardwood Flooring
Beginning Your Installation
Start at one edge of the room:
Lay down spacers along the wall to enable expansion gaps. Place your first row of slabs versus these spacers.Cutting Planks Accurately
When cutting slabs:
Measure twice; cut once! Use appropriate precaution such as goggles and listening to protection.Creating Patterns or Designs
Consider developing patterns like herringbone or chevron for added aesthetic interest-- yet keep in mind that this calls for extra planning!
Finishing Touches After Installation
Trimming Out Change Areas
Use transition strips in between different flooring types (e.g., carpet to wood) or doorways to make certain smooth transitions without trip hazards.
Removing Spacers Carefully
Once whatever is established and secured, get rid of spacers carefully so as not to damage sides that require touching up later.
Hardwood Floor Refinish: When Is It Necessary?
Signs You Required To Refinish
Over time even quality hardwood floors may show wear; here's when you must consider redecorating:
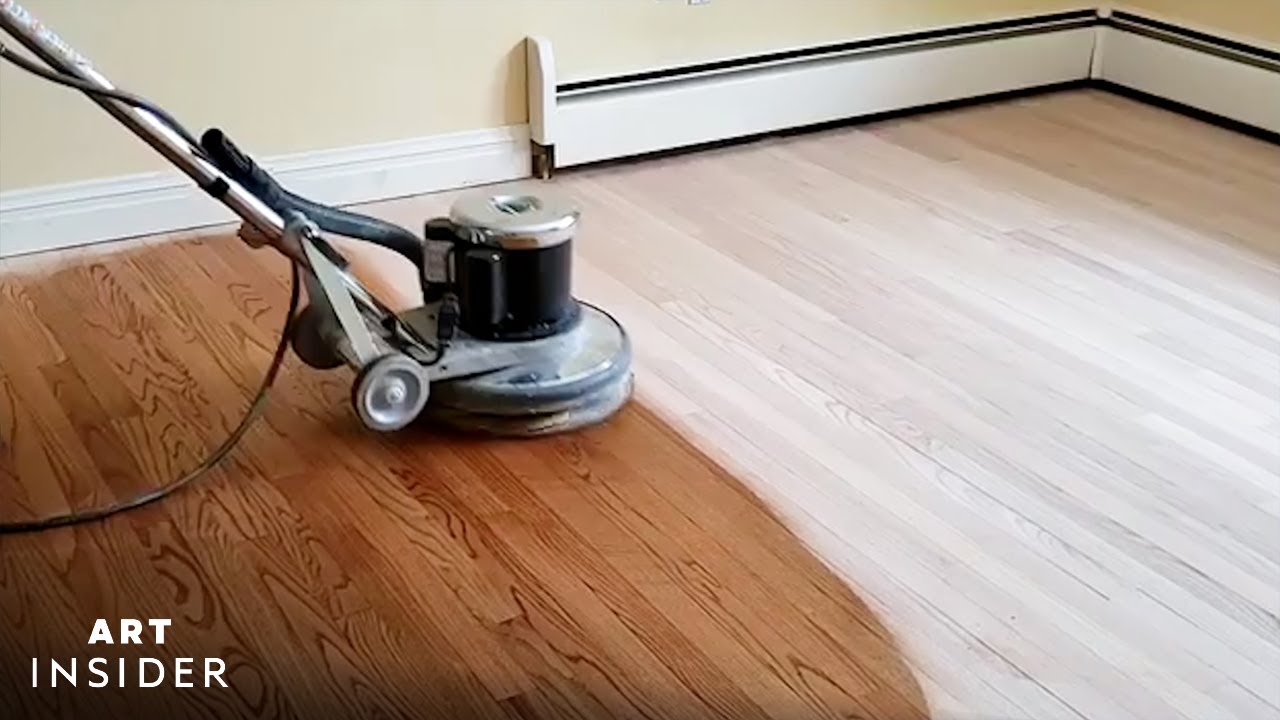
Deep scratches Faded areas Water damages stainsThe Refinishing Process
Refinishing includes fining sand down the leading layer adhered to by using new tarnish and sealant-- this can renew your floors dramatically!
FAQs About DIY Wood Floor Installation
1. For how long does it require to mount wood floors?
Generally talking, installation can take anywhere from someday to several days depending upon area size and complexity.
2. Can I install hardwood over existing flooring?
While it's feasible under specific scenarios (like using engineered timber), it's finest practice to eliminate old floor covering for optimal results.
3. Must I hire professionals if I'm unsure?
If you're unsure about any type of step in this procedure-- from gauging precisely to guaranteeing levelness-- it may be smart to consult experts first!
4. What sort of coating need to I choose?
Picking in between oil-based or water-based coatings commonly depends https://edwinsxkr275.theburnward.com/hardwood-flooring-redecorating-101-when-and-how-to-do-it-right upon desired drying time versus durability-- water-based dries much faster but oil-based often tends to last longer!
5. Exactly how do I preserve my new floors?

6. Can I refinish my very own floors?
Absolutely! Just ensure you have all required devices & & comply with correct procedures meticulously-- safety and security first!
Conclusion
Achieving a professional look in your do it yourself hardwood floor installment does not need to really feel difficult! With complete prep work, careful implementation, and an eye for information throughout each step-- from choosing materials via ending up touches-- you can create sensational results that boost both beauty & & value within your home! So roll up those sleeves & & start on transforming those spaces into something genuinely unique today!